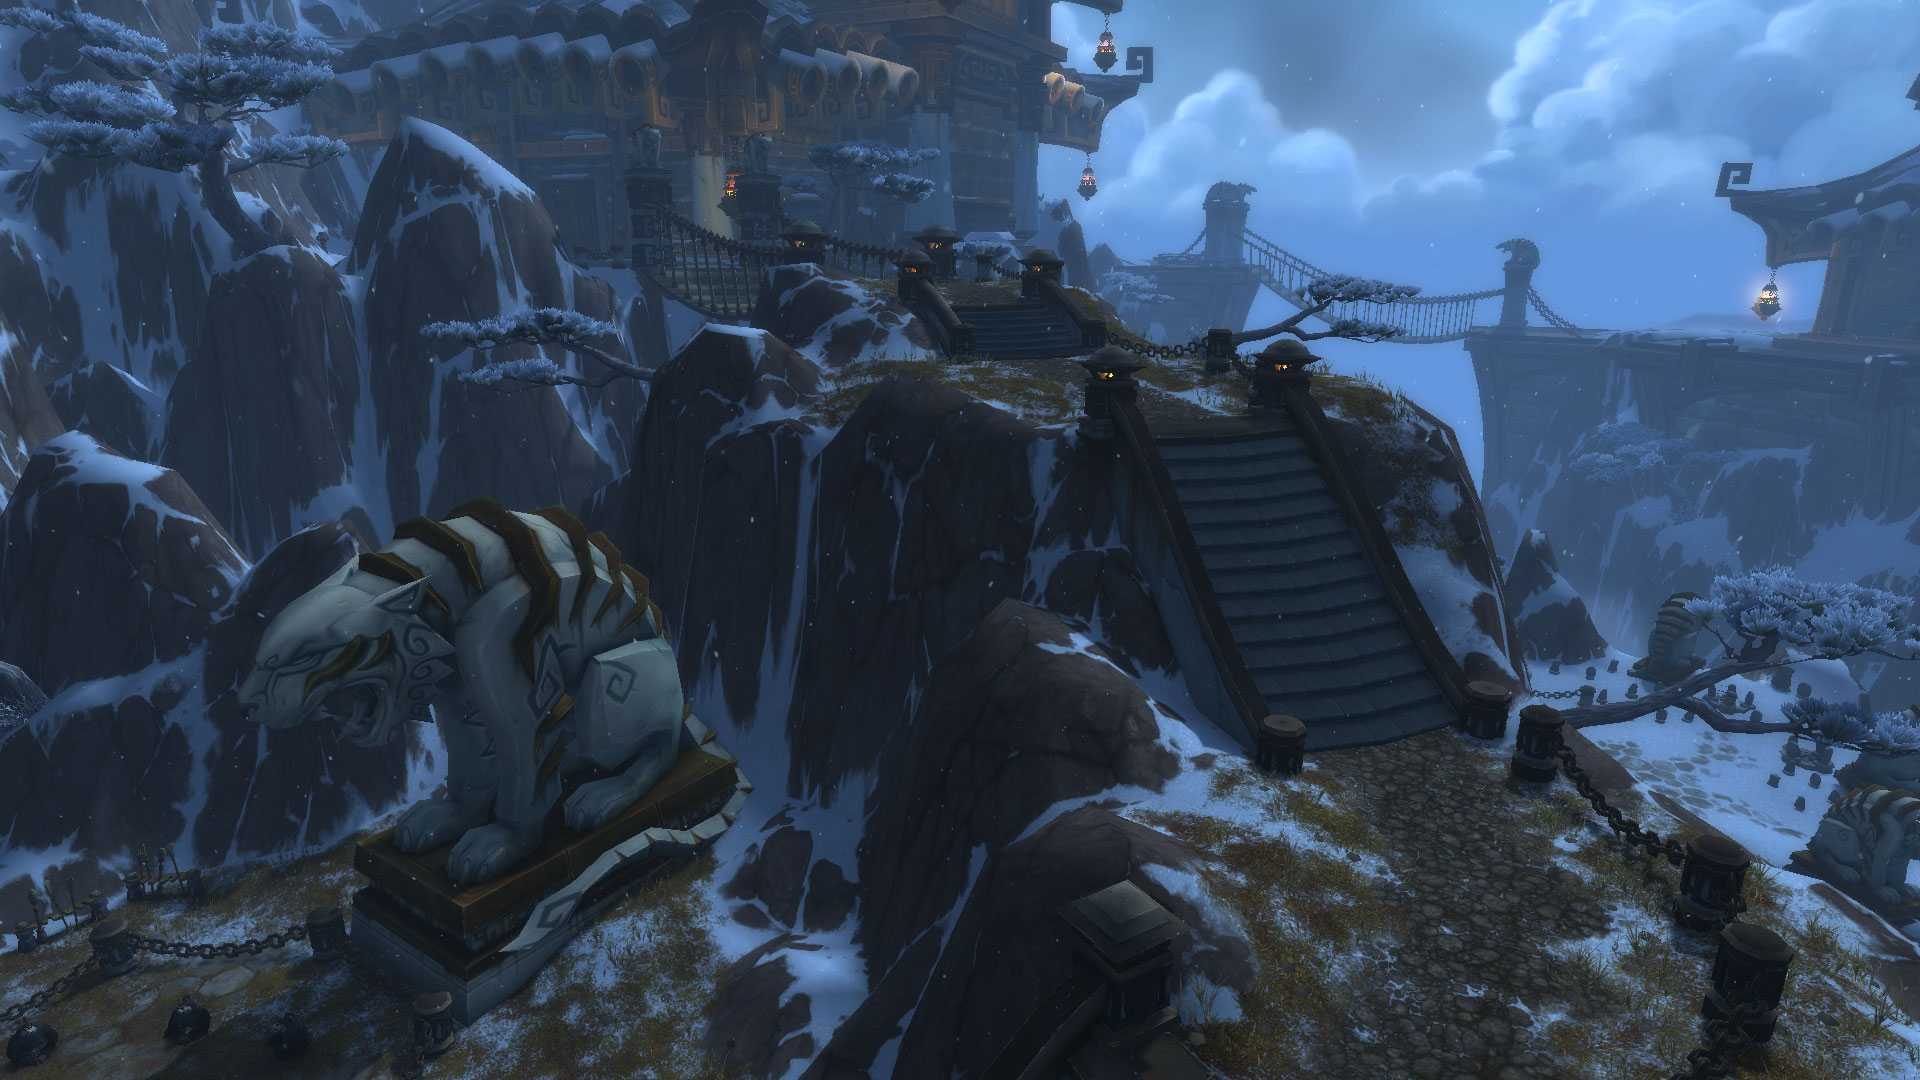

The Tiger’s Peak arena in World of Warcraft: Mists of Pandaria offers a unique battleground for players to engage in intense PvP combat. With its distinct high pillars and varied terrain, understanding the layout is crucial for maximizing your effectiveness in battle. This guide will explore how to strategically utilize the high pillars to block ranged attacks, enhancing your survivability and tactical options during encounters.
What are the key features of the Tiger’s Peak arena layout?
The Tiger’s Peak arena features high pillars, open spaces, and elevated terrain that can be used strategically to block ranged attacks and control the battlefield.
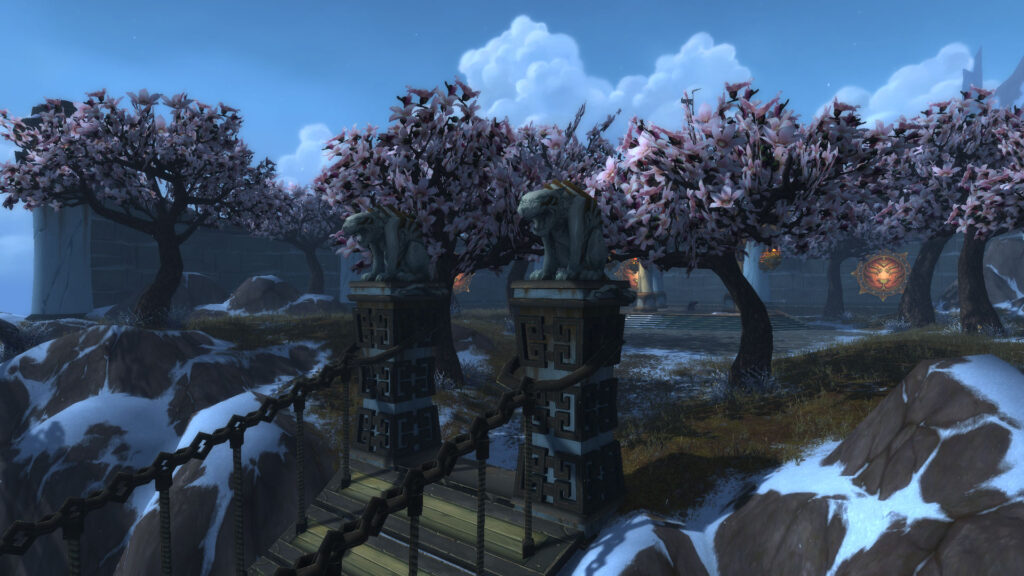
Understanding the layout of Tiger’s Peak is essential for any player looking to gain an edge in PvP. The arena consists of several high pillars that provide cover from ranged attacks, allowing players to reposition and heal without taking damage. The open spaces between these pillars create opportunities for ambushes and flanking maneuvers, making it vital to know how to navigate this environment effectively.
| Feature | Height of Pillars | Distance Between Pillars | Terrain Type |
|---|---|---|---|
| High Pillars | 10-15 yards | 20-30 yards | Mixed (Grass, Stone) |
| Open Areas | N/A | 15-25 yards | Grass |
| Elevation Changes | 5-10 yards | Variable | Stone |
How can players effectively use high pillars to block ranged attacks?
Players can effectively use high pillars by positioning themselves behind them to block incoming ranged attacks, allowing for strategic healing and repositioning.
The high pillars in Tiger’s Peak serve as natural barriers against ranged attacks, making them a critical element in PvP strategy. When engaged in combat, players should prioritize moving behind these pillars to avoid damage from enemy casters and ranged DPS. This positioning not only mitigates damage but also allows players to regroup and plan their next move without the constant threat of being hit. The pillars can also be used to break line of sight, forcing opponents to reposition and potentially waste cooldowns.
To maximize the effectiveness of the high pillars, players should be aware of their cooldowns and the enemy’s abilities. For instance, if an enemy is casting a powerful spell, moving behind a pillar can interrupt their line of sight, causing them to lose their target. Additionally, players can use the terrain to their advantage by anticipating enemy movements and positioning themselves accordingly. This strategic use of the environment can turn the tide of battle, especially in high-stakes situations where every second counts.
What are the best strategies for using pillars during combat?
Effective strategies for using pillars include maintaining awareness of enemy positions, timing your movements, and coordinating with teammates to control the battlefield.
To effectively utilize the pillars during combat, players should adopt a proactive approach. This involves constantly assessing the battlefield and understanding where enemies are positioned. By keeping an eye on enemy movements, players can anticipate when to move behind a pillar to avoid incoming attacks. Timing is crucial; players should not wait until they are low on health to seek cover, as this can lead to being caught off guard by burst damage. Instead, players should aim to use the pillars as part of their regular movement pattern, creating a rhythm that keeps them safe while allowing for offensive opportunities.
- Identify enemy ranged attackers and prioritize blocking their line of sight.
- Use pillars to break line of sight when healing or using cooldowns.
- Coordinate with teammates to create distractions while others reposition behind pillars.
- Practice movement patterns that incorporate pillar usage to enhance survivability.
What are the critical parameters for effective pillar usage in Tiger’s Peak?
Critical parameters include understanding the height and distance of pillars, knowing enemy abilities, and maintaining situational awareness to maximize cover.
When engaging in combat within Tiger’s Peak, players must consider the height and distance of the pillars relative to their enemies. Knowing how far away you can be from a pillar while still being protected is essential for effective positioning. Additionally, understanding the abilities of your opponents can help you predict when to use the pillars for cover. For example, if an enemy has a long-range ability, players should be aware of its range and position themselves accordingly to avoid being hit.
Moreover, maintaining situational awareness is crucial. Players should always be aware of their surroundings, including the positions of both allies and enemies. This awareness allows for better decision-making regarding when to engage or retreat. Players should also communicate with their team to coordinate movements and strategies effectively. By sharing information about enemy positions and cooldowns, players can create opportunities to capitalize on enemy mistakes and control the battlefield.
What are the common issues players face when using pillars in Tiger’s Peak?
Common issues include misjudging distances, failing to break line of sight, and poor communication with teammates, which can lead to unnecessary deaths.
Players often encounter challenges when utilizing the pillars in Tiger’s Peak. One significant issue is misjudging the distance between themselves and the pillars, leading to situations where they are still within range of enemy attacks. This can be particularly problematic during high-pressure moments when quick decisions are necessary. Additionally, players may fail to break line of sight effectively, allowing enemies to land critical hits or crowd control effects that can turn the tide of battle.
Another common problem is a lack of communication with teammates. In a fast-paced PvP environment, players may not relay important information about enemy positions or cooldowns, resulting in disjointed strategies. To mitigate these issues, players should practice their positioning and communication skills outside of combat scenarios. Regularly discussing strategies and reviewing gameplay can help teams better understand how to utilize the pillars effectively and avoid common pitfalls.
What future trends should players consider for pillar usage in Tiger’s Peak?
Future trends include adapting to changes in game mechanics, understanding new class abilities, and evolving strategies to maintain an edge in PvP.
As World of Warcraft continues to evolve, players must stay informed about changes to game mechanics that may affect pillar usage in Tiger’s Peak. This includes updates to class abilities that could alter how players interact with the environment. For instance, if a class receives a new ability that allows them to bypass obstacles, players will need to adapt their strategies accordingly. Staying updated on patch notes and participating in community discussions can provide valuable insights into how to adjust tactics effectively.
Additionally, players should consider the evolving nature of PvP strategies. As the meta shifts, new tactics for utilizing the pillars may emerge. Engaging with the community through forums and guides can help players stay ahead of the curve. By continuously refining their understanding of the arena layout and the capabilities of their characters, players can maintain a competitive edge and improve their overall performance in Tiger’s Peak.